Network Selector
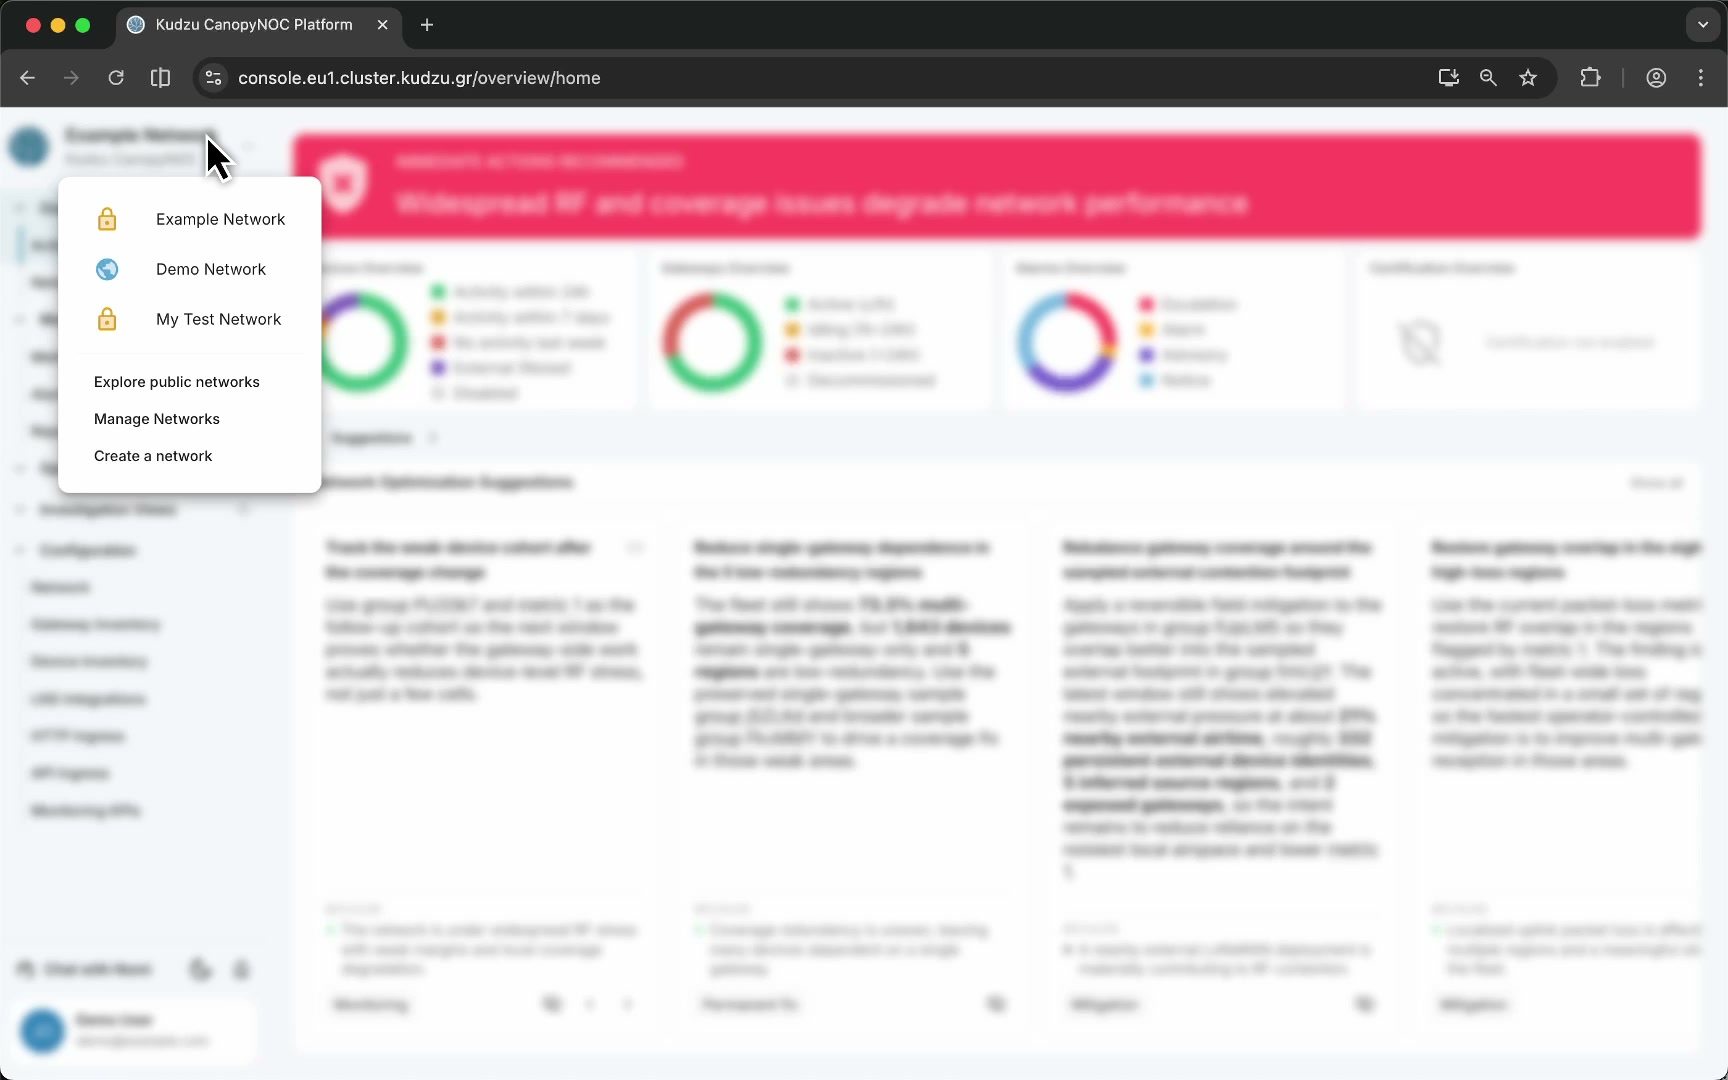
The network selector is the dropdown that opens when you click the network header at the top of the navigation sidebar. It lets you switch between networks, explore public networks, manage existing networks, or create a new network.
Key areas#
- Network list — lists all networks you have access to, each shown with an icon and name.
- Network type icons — a yellow padlock indicates a private network with restricted access; a blue globe indicates a public network accessible to all platform users.
- Action links — three links appear below the network list: Explore public networks, Manage Networks, and Create a network.
How to use this view#
Switch to a different network#
- Click the network name at the top of the sidebar to expand the dropdown.
- Review the listed networks. Use the padlock and globe icons to distinguish private from public networks.
- Click a network name to switch to it. The platform reloads to show data for the selected network.
Explore, manage, or create networks#
Use the links at the bottom of the dropdown:
- Explore public networks opens a directory of publicly available networks.
- Manage Networks opens the network management area.
- Create a network starts the workflow for setting up a new network.
The currently selected network is always shown in the sidebar header, even when the dropdown is closed.